- Overview
- Installing Theme and Plugins
- Demo Content Installation
- Getting Started
- Theme Options
- Sidebars / Widgets
- Setting the slider
- Setting the pages
- Setting the Blog
- Setting the Portfolio
- Setting the Team Members
- Setting the Testimonials
- Setting the Client's Logo
- Visual Composer
- Setting WPML Multi-Lanuage
- Translation
- Shortcodes
- FAQ
- Sources / Credits
Theme Installation
Installing the theme
Assuming that WordPress website is already set (for setting up WordPress blog refer to WordPress set up documentation at http://codex.wordpress.org/Getting_Started_with_WordPress#Installation), the next step is to install the theme. There are 2 main ways to upload the theme:
Option 1: Via "Envato Market" plugin (recommended)
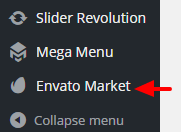
Envato Market Plugin
Than just go to Admin > Envato Market plugin menu and install the theme. The theme would be available to install so you can easily install it.
NOTE: Plesae note that the "ThemeMount Extras for DigitalLaw Theme" is required plugin for this theme. So make sure you install that plugin after you install/activate the theme.
Option 2: Via FTP client
Use an FTP client such as FileZilla, FireFTP or Cyberduck (if you are a Mac user) to connect to your hosting account. Navigate to where WordPress is installed and locate the /wp-content/themes/ directory.
Find the zip file called "digitallaw.zip" in downloaded file, unzip it and upload the folder to the folder /wp-content/themes/.
Note: Please make sure that the main files of the theme are contained within just one folder.
Thus, the right way to locate your theme files is for example /wp-content/themes/digitallaw/ but not /wp-content/themes/digitallaw/digitallaw/.
After all file uploaded, just go to Admin > Appearance and activate DigitalLaw theme.
Option 3: Through the native WordPress theme uploader (not recommended due to big size of theme)
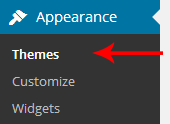
Select Appearance > Themes
Plugin Installation
Installing required plugins
After theme activation, you will get message to install some required plugin like this:

Now click on "Begin installing plugins" link and you will be redirected to "Install Required Plugins" page.
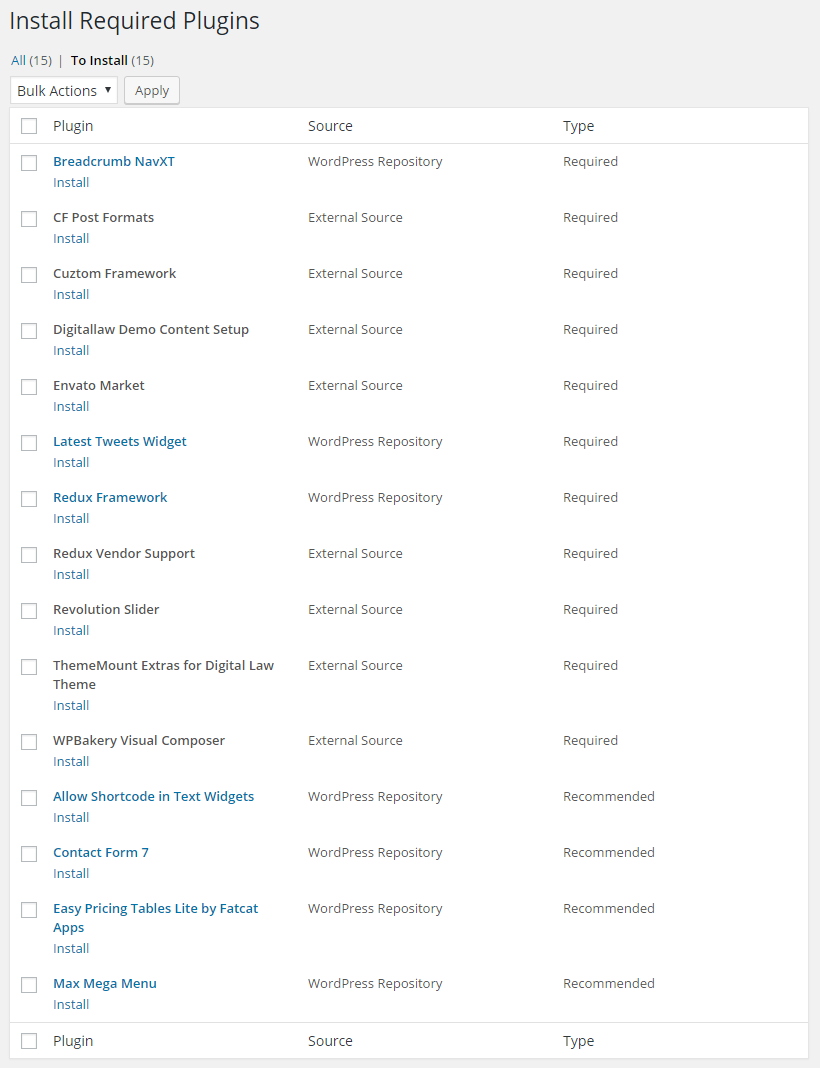
Note: Please make sure you install the ThemeMount Extras for DigitalLaw Theme plugin as this plugin is required to make our theme fully working.
Click on "Install" link below each plugin name to install plugins. Also make sure you activate all plugins. Here are details of each plugin:
- Breadcrumb NavXT: This plugin generates locational breadcrumb trails for your WordPress powered blog or website. These breadcrumb trails are highly customizable to suit the needs of just about any website running WordPress.
- CF Post Formats: This will show you post format as tab view when creating new post for blog. This will help you to add different Post Format based posts.
- Cuztom Framework: This is required plugin for this DigitalLaw theme. All Metabox for (Page, Posts etc) are built on core functionality of Cusztom Framework, so please install this plugin so that all Meta boxes work fine on your site.
- Digitallaw Demo Content Setup: This is required plugin for this DigitalLaw theme. The One Click Demo Content setup process is handled by this plugin. If this plugin is not Installed / Activted on your site the One Click Demo Content setup process will not work on your site.
- Envato Market: The Envato Market plugin can install WordPress themes and plugins purchased from ThemeForest & CodeCanyon by connecting with the Envato Market API using a secure OAuth personal token. Once your themes & plugins are installed WordPress will periodically check for updates, so keeping your items up to date is as simple as a few clicks.
- Latest Tweets Widget: This plugin will connect to your Twitter account and show latest Tweets on your site as Widgets. The ThemeMount Twitter Box element in Visual Composer will use configurations made to this plugin and show Tweets on your site. Once the plugin is activated on your site you need to bind it to your Twitter Account, please read more at this link.
- Redux Framework: This is required plugin for this DigitalLaw theme. The Theme Option section of theme is built on core of Redux Framework, so please install this plugin to enable Theme Options section of theme.
- Redux Vendor Support: This is required plugin for this DigitalLaw theme. This plugin acts as a backup and/or replacement for the CDN based files for Select2 and ACE Editor used within Redux Framework.
- Revolution Slider: You can create attractive slider using this plugin. Help document for this plugin given inside the DigitalLaw theme package.
- ThemeMount Extras for DigitalLaw Theme: This is required plugin for this DigitalLaw theme. This plugin contains Custom Post Formats so it will be available if you switch the theme.
- WPBakery Visual Composer: This will add drag-n-drop interface to create pages. Help document for this plugin given inside the DigitalLaw theme package.
- Allow Shortcode in Text Widgets: This plugin enables shortcode support and execute PHP in WordPress's Text Widget.
- Contact Form 7: This plugin generates different contact forms easily.
- Easy Pricing Tables Lite by Fatcat Apps: You can add Pricing tables using this plugin. We set unique interface for this plugin so it will look perfect with our theme.
- Max Mega Menu: This will add mega menu features so you can easily create menu menu from WordPress directly.