- Overview
- Installing Theme and Plugins
- Demo Content Installation
- Getting Started
- Theme Options
- Sidebars / Widgets
- Setting the slider
- Setting the pages
- Setting the Blog
- Setting the Portfolio
- Setting the Team Members
- Setting the Testimonials
- Setting the Client's Logo
- One-page site
- Visual Composer
- Setting WPML Multi-Lanuage
- Translation
- Shortcodes
- FAQ
- Sources / Credits
Demo Content Installation
Demo Content Installation
Note: Please make sure you install the ThemeMount Extras for DigitalLaw Theme plugin as this plugin is required to setup demo content. Click here to know more about how to install this plugin.
We set easy steps to setup demo Content. This will setup page, post and other post type data. Also this will setup menu, widgets, homepage and import sliders too.
Demo Content installation is super-easy with DigitalLaw Theme. We have developed one click demo content setup process so your site will become same as our demo site in just some minutes.
Just go to Admin Panel > Appearance > Theme Options and go to Layout Settings tab. Here you will find Demo Content Setup section like this:
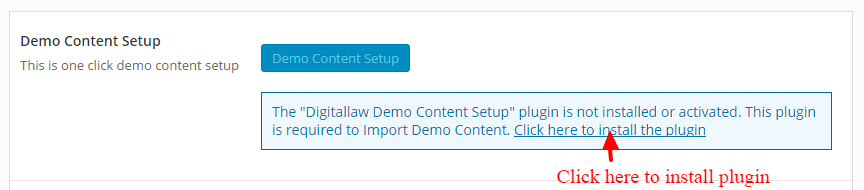
The Demo Content Setup button will be deactivated if the "Digitallaw Demo Content Setup" plugin is not Installed / Activated on your site and you will see message as in above screenshot, as this plugin is required to setup demo content on your stie. Click on "Click here to install plugin" link to install this plugin on your site. Now you will be redirect to Plugin Installation page, see screenshot below. Install the plugin by following steps on this page. 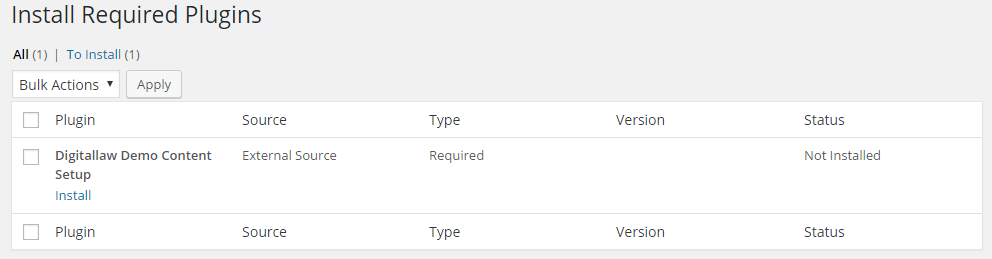
After this plugin is Installed / Activated on your site. Just go to Admin Panel > Appearance > Theme Options and go to Layout Settings tab. Here you will find Demo Content Setup button is now activated see screenshot below:

Just click on the Demo Content Setup button and read the instructions:
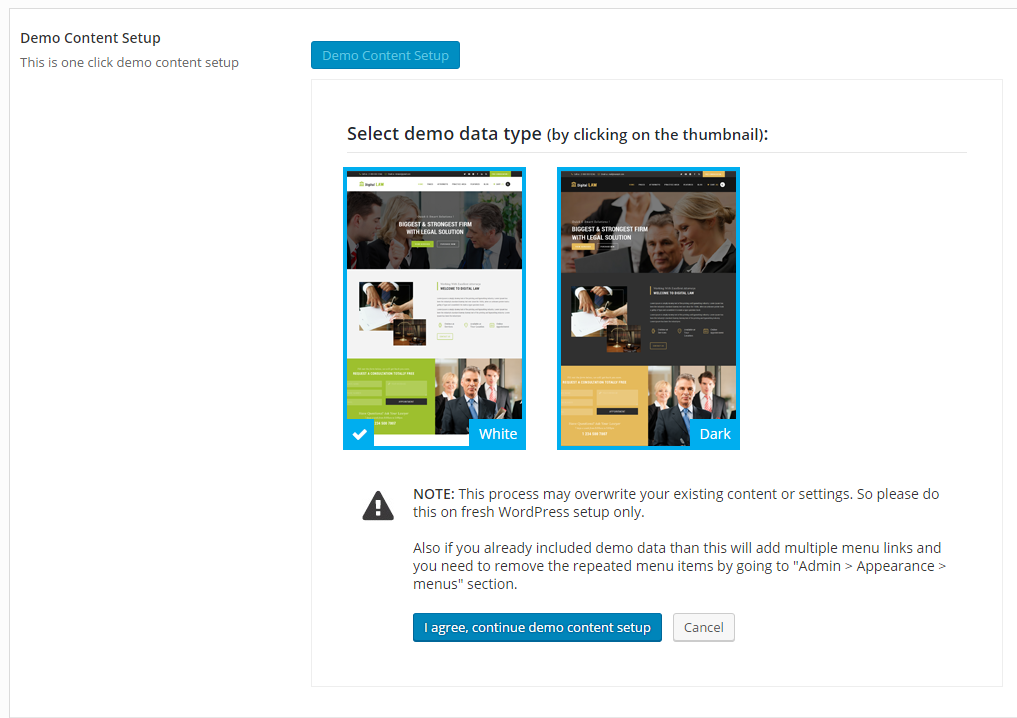
Now click on the I agree, continue demo content setup button and the installation process will start (this process may take 5 or 10 minutes depends on your server performance):
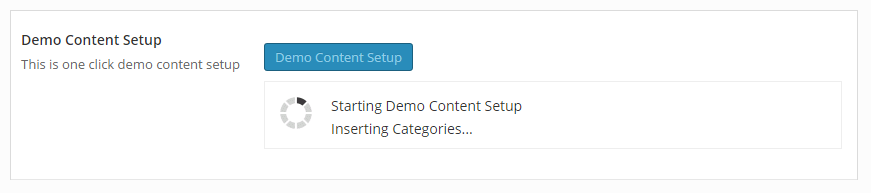
When finished, you will see message like this:
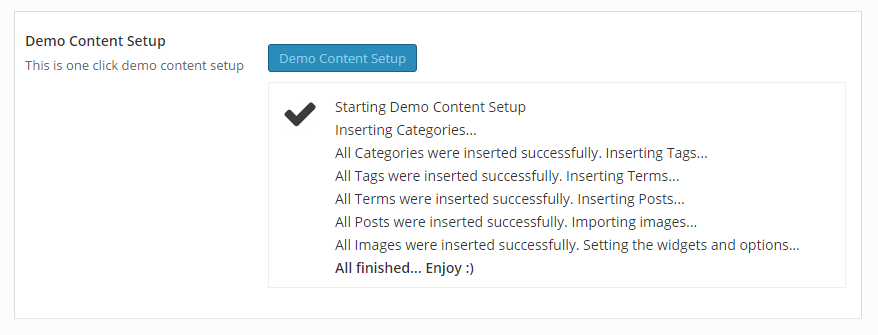
The process is now done.
NOTE: This will also import sliders.